Tesla PPF install, explained step by step from drop-off to pick-up.
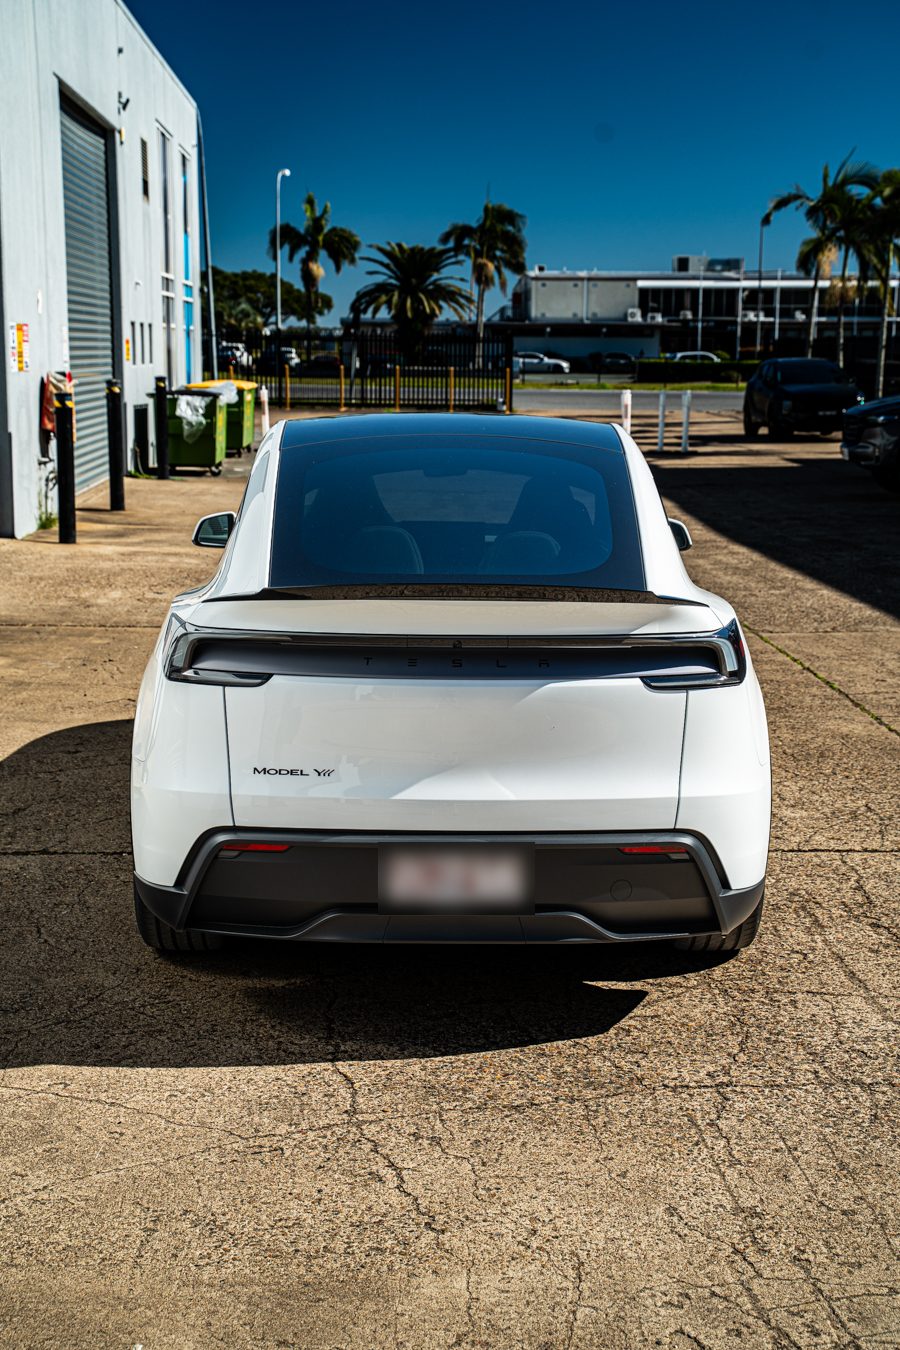
Booking a Tesla PPF install is a big decision, so it makes sense to know exactly what happens to your car while it’s with us. After all, a full-body job isn’t a quick wrap. Instead, it’s a careful, hand-fitted process across every painted panel. So we’ve broken it down using a brand-new white Model Y that came through our Archerfield studio for full Xpel paint protection film.
First, the car arrives and our team checks the paint under bright studio lights. Even brand-new Teslas can arrive with small marks from transport, so we note anything before we start. Then the car gets a thorough wash and decontamination. As a result, no dust or grit gets trapped under the film.
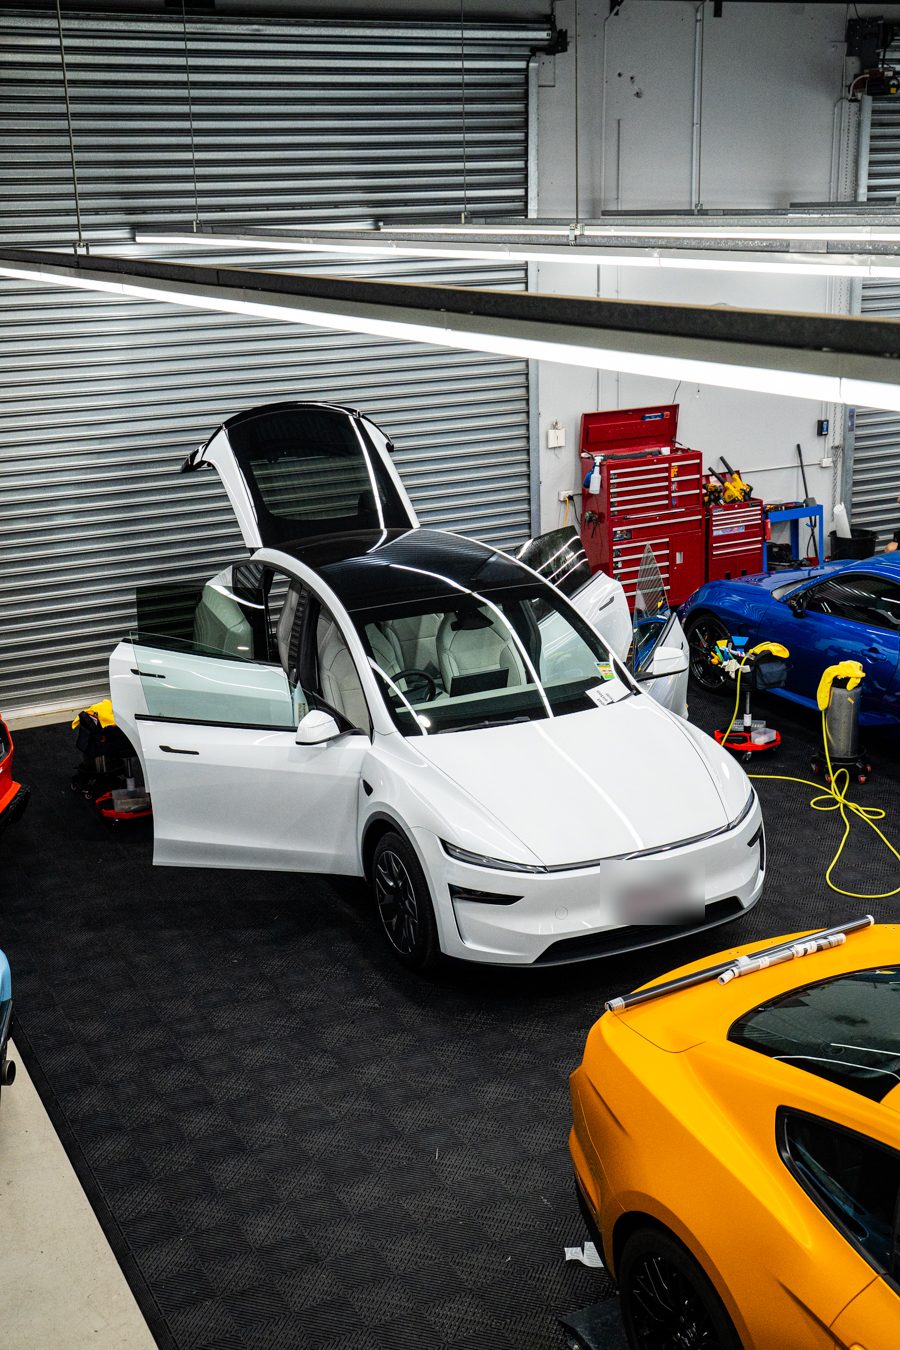
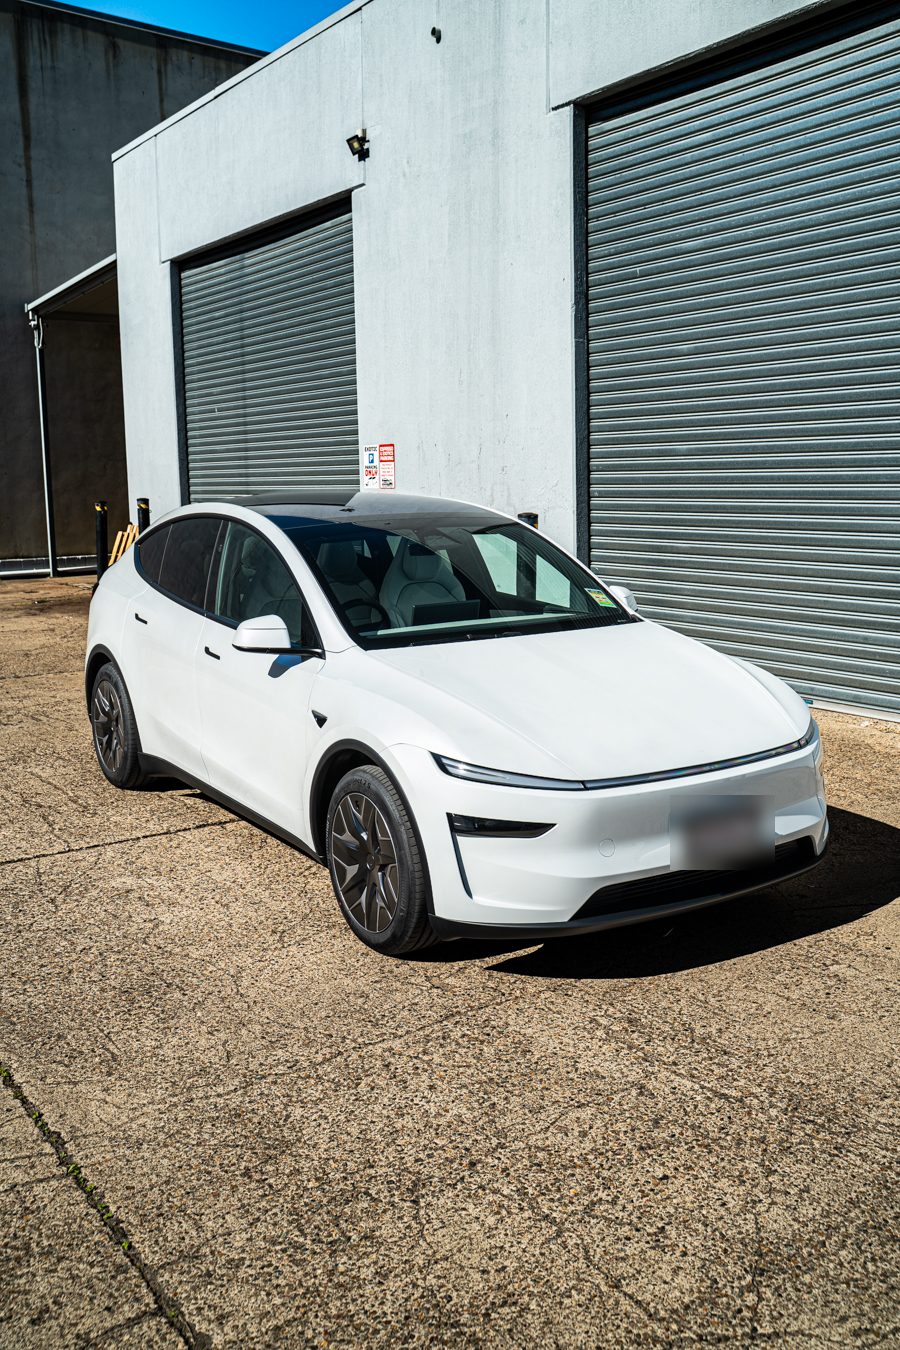
Inside a Tesla PPF install, panel by panel!
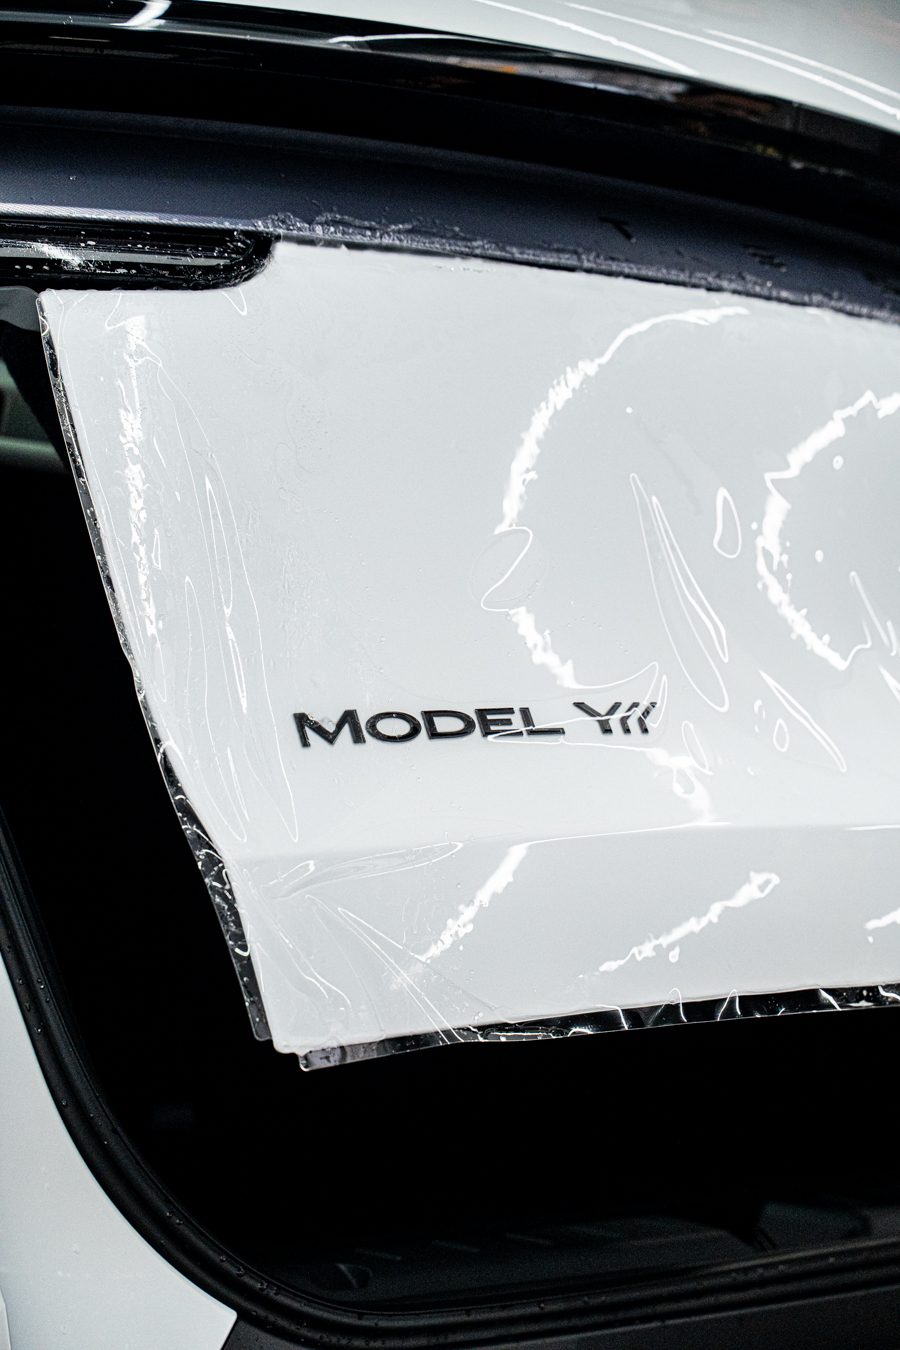
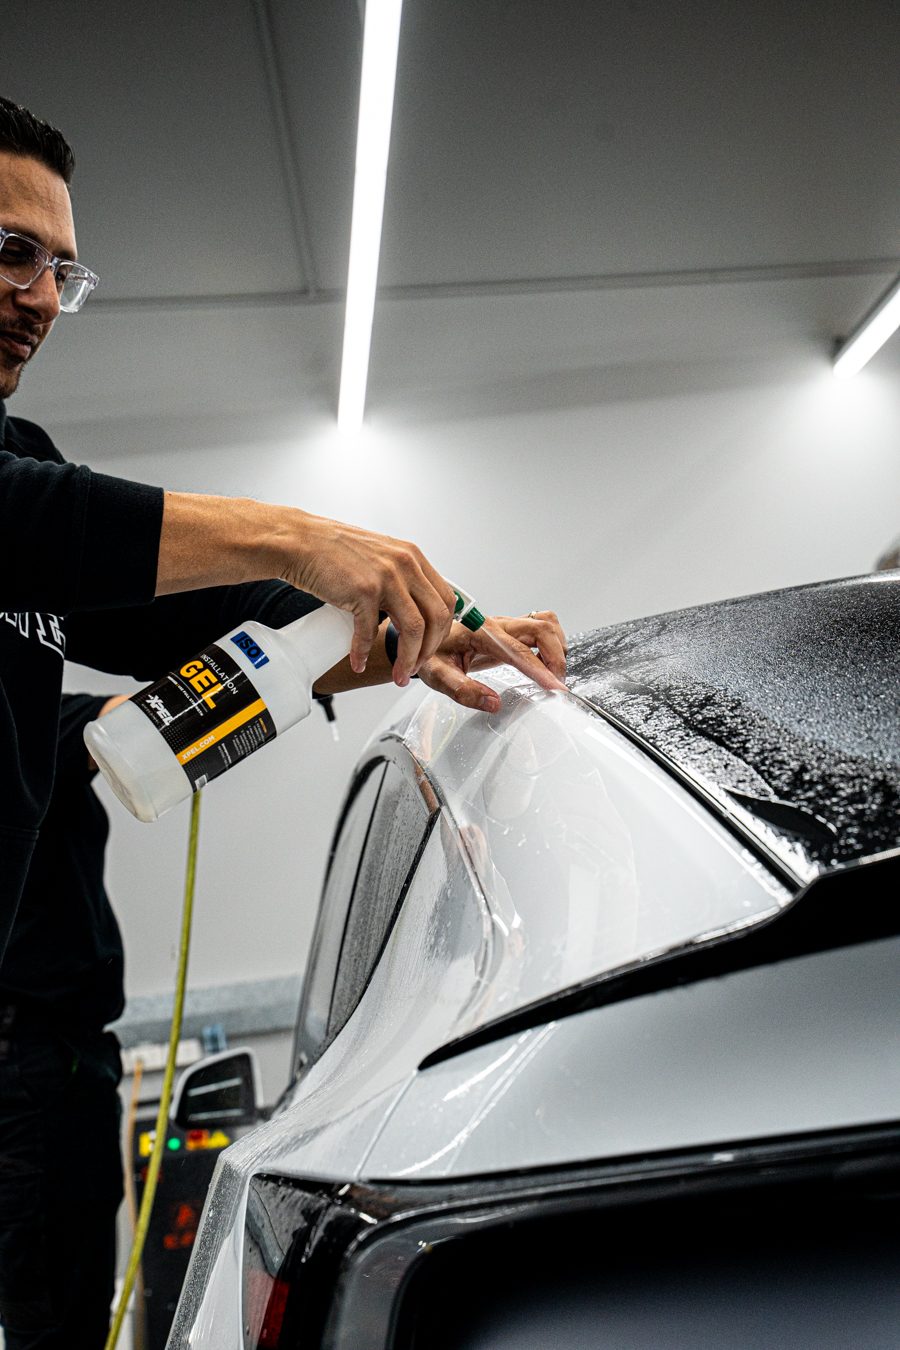
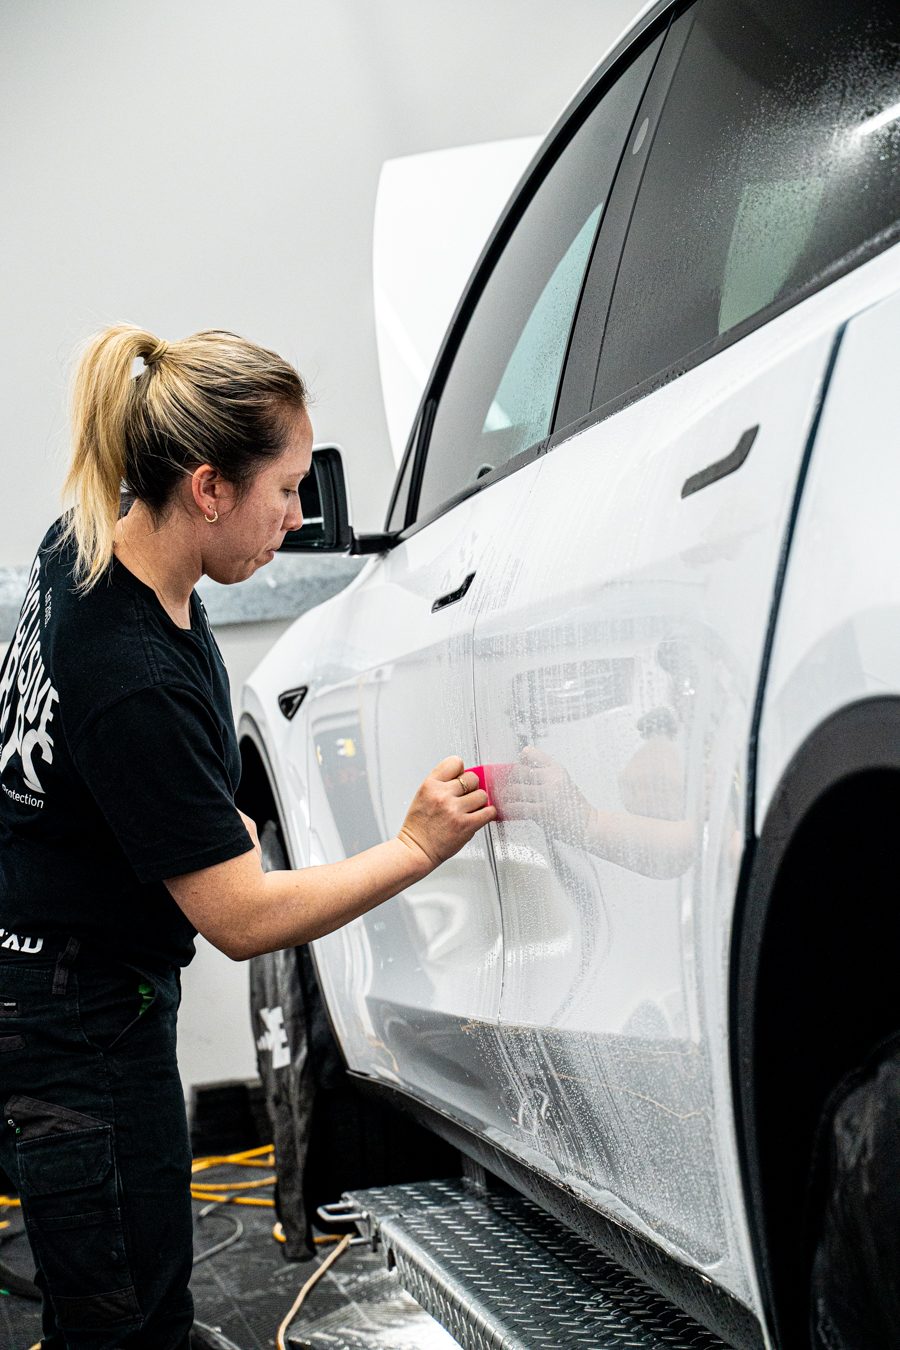
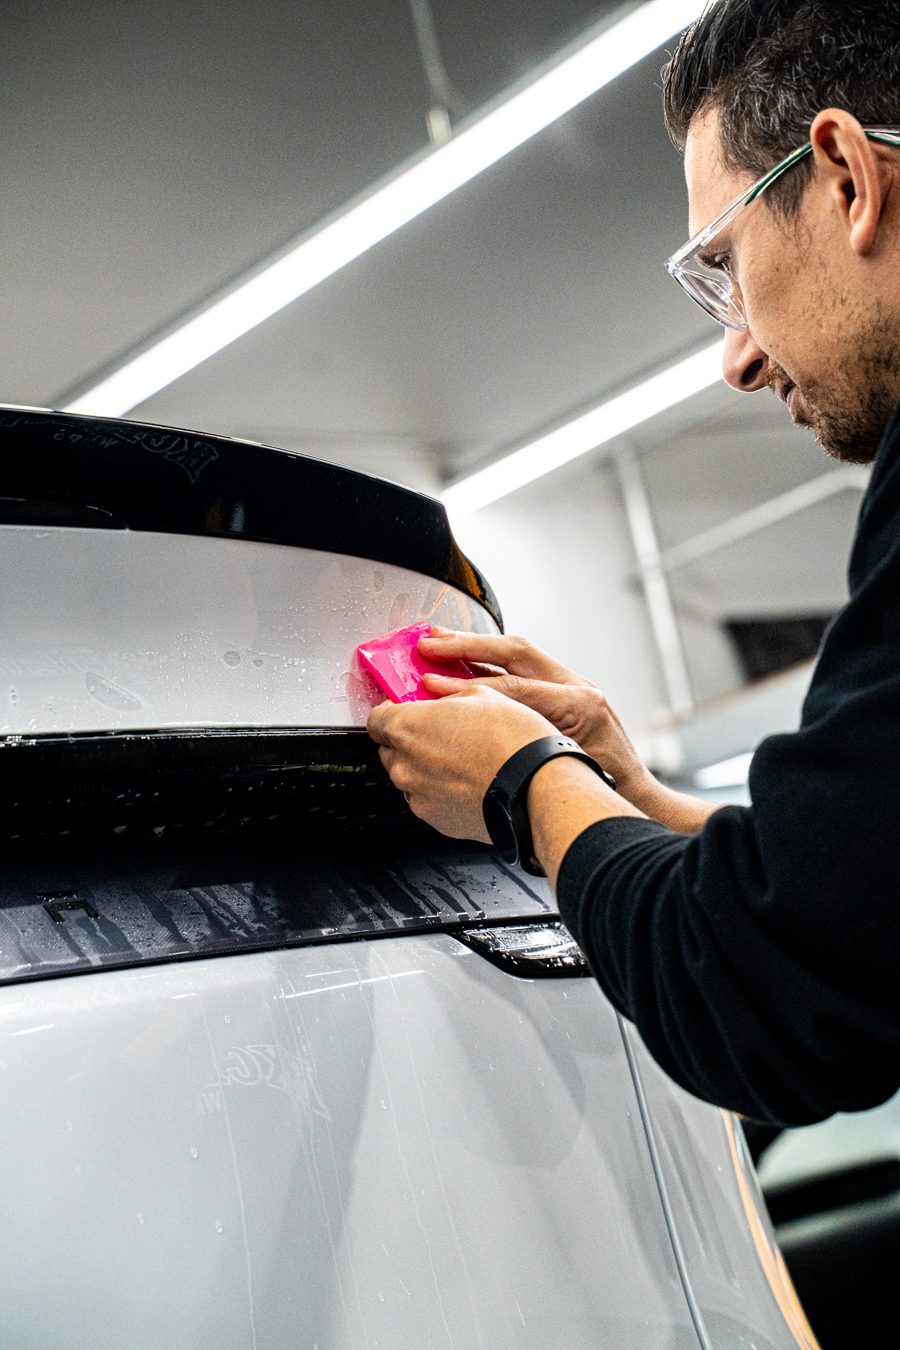
Next comes the film itself. For example, our installers spray a slip solution onto each panel so the Xpel film can be floated into the exact position. Once it’s lined up, they squeegee the solution out from the centre to the edges. Consequently, the film bonds flat, clear and virtually invisible.
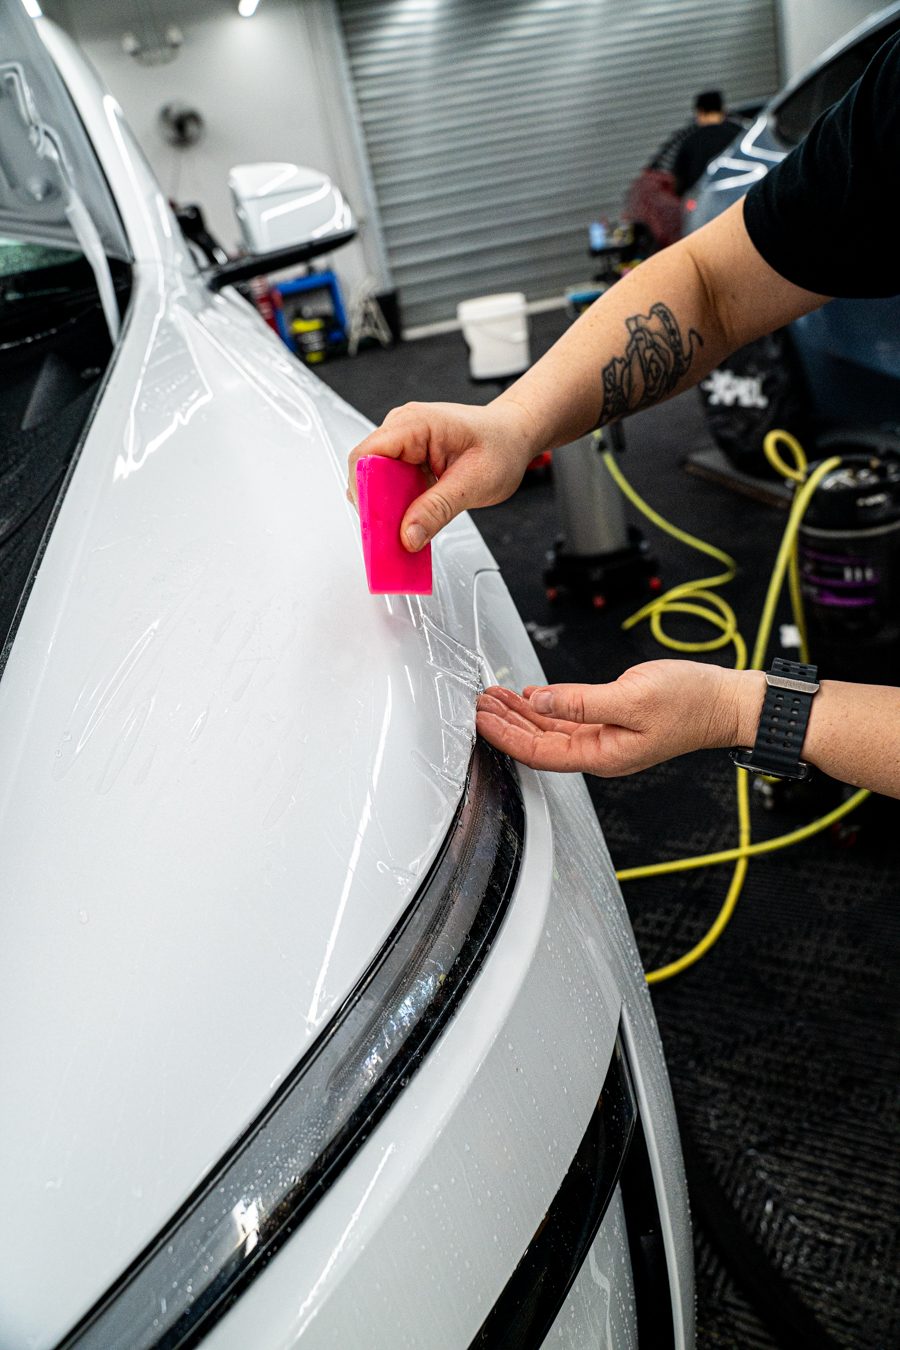
Of course, the edges are where a good install really shows. Wherever possible, we wrap the film around panel edges like the doors, headlights and tailgate, so the join is hidden. Finally, the whole car gets a full inspection under the lights before it goes home.
What happens after a Tesla PPF install?
Once you pick it up, the film still needs time to cure. So don’t wash the car for the first 7 days, and don’t worry if you spot a few tiny bubbles. In fact, they’re normal and dry out over the next 2 to 3 weeks. After that, a pH-neutral hand wash keeps it looking new, and it’s best to skip automatic car washes. Our PPF aftercare guide covers the rest.
Thinking about a Tesla PPF install for your new car? Find out more about our Xpel paint protection film, or see how we transformed a satin black Model Y.